As we’re getting more comfortable with our 3D printer, we’re starting to look out for handy things to print, along with nice modelling/design software. This is a short post describing how to use OpenSCAD‘s python scripting via SolidPython to design a 3D-printed box that holds watercolor paint tubes, a brush, a sponge, and has wells for mixing paints. It’s based on a small set of Daniel Smith watercolor tubes and a Sakura Koi watercolor brush, but can probably be used with other brands with minor adjustments.
Dimensions
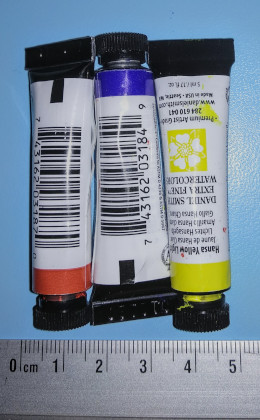
- Each paint tube is approx. 1.8cm x 6.2cm x 1.3cm. There are 6 tubes in total, so two tube holders of 5cm x 7cm x 1.5cm should fit them. It’s only 5cm long (and not 1.8 x 3) because, as in the figure below, you can place three of them in an alternating fashion and save some space.
# x, y, z = length, width, height
tube_holder_length = 5
tube_holder_width = 7
tube_holder_height = 1.5
- We decided on a 0.2mm buffer everywhere (increasing this to 0.5 ups the printing time by around 2 hours and any less would probably be hard to print)
gap = 0.2
- And then a smaller water holder of 5cm x 2cm x 1.5cm in between the two tube holder boxes
water_holder_length = 5
water_holder_width = 2
water_holder_height = 1.5
- We have a couple of watercolor brushes and all of them are shorter than 16cm so that’s nice. The widest one is around 1.8cm wide so a brush holder of 2cm x 16.4cm x 1.5cm should fit even this one.
brush_holder_length = 2
brush_holder_width = 16.4
brush_holder_height = 1.5
- Finally in between the tube holders and the brush holder there’s space for four mixing wells (1.5cm radius half-spheres) and a sponge holder of 3cm x 3cm x 1.5cm.
sponge_holder_length = 3
sponge_holder_width = 3
sponge_holder_height = 1.5

num_mixing_wells = 4
mixing_well_radius = 1.5
total_length = round(gap + tube_holder_length + gap + sponge_holder_length + gap + brush_holder_length + gap, 3)
total_width = round(gap + tube_holder_width + gap + water_holder_width + gap + tube_holder_width + gap, 3)
total_height = round(gap + tube_holder_height, 3)

total_length, total_width, total_height
(10.8, 16.8, 1.7)
With all that in mind, let’s code it out with SolidPython, a python scripting wrapper for OpenSCAD. We also used the ViewSCAD library to render the models. The nice thing about SolidPython is that all the normal mathematical operations are overloaded in an intuitive way to respond to 3D objects. This means you can subtract a sphere from a box and get a mixing well. This is better demonstrated by example.
import solid
import viewscad
import numpy as np

renderer = viewscad.Renderer()
The base
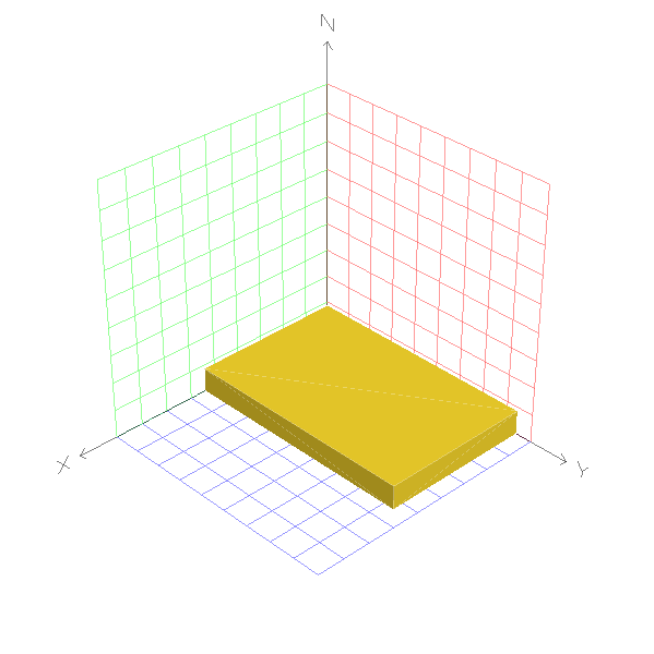
We start out with a foundation from which we’ll carve out our holders.
watercolor_palette = solid.cube((total_length, total_width, total_height))
renderer.render(watercolor_palette)
Tube holders
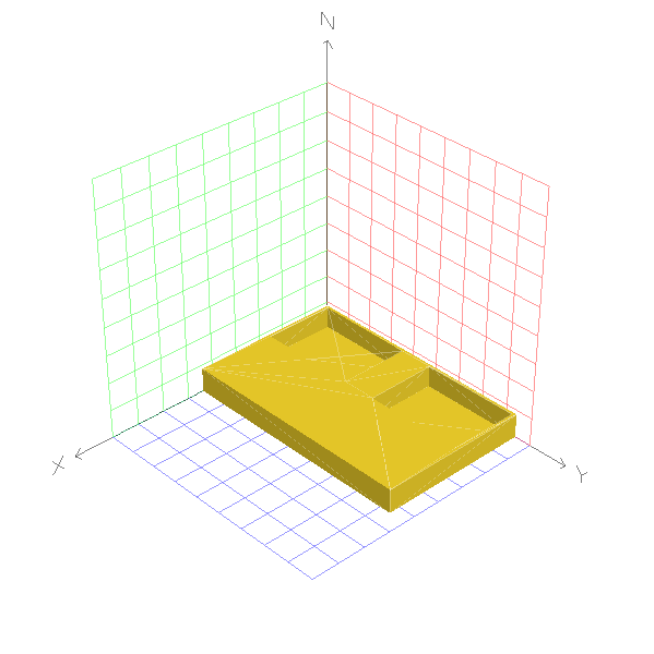
tube_holder = solid.cube((tube_holder_length, tube_holder_width, tube_holder_height))

first_tube_holder = solid.translate((gap, gap, gap))(tube_holder)
second_tube_holder = solid.translate((gap,
                                      gap + tube_holder_width + gap + water_holder_width + gap,
                                      gap))(tube_holder)

watercolor_palette -= first_tube_holder
watercolor_palette -= second_tube_holder

renderer.render(watercolor_palette)
Water holder
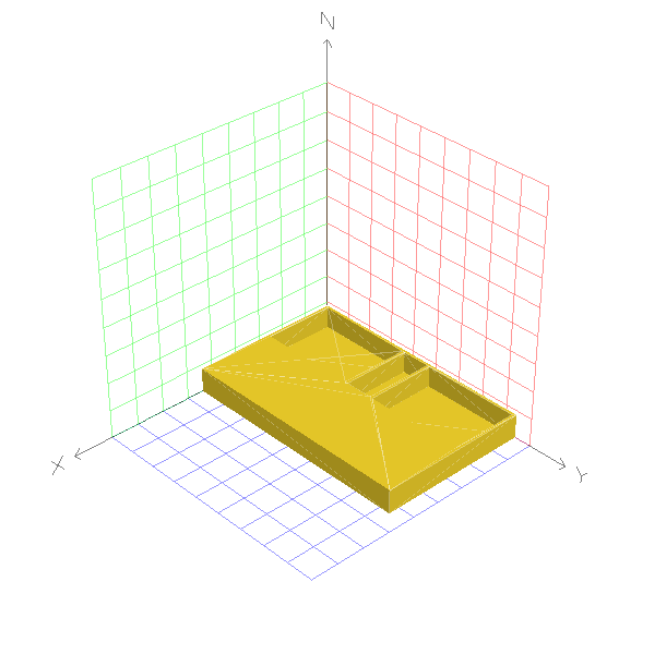
water_holder = solid.cube((water_holder_length, water_holder_width, water_holder_height))
water_holder = solid.translate((gap,
                                gap + tube_holder_width + gap,
                                gap))(water_holder)

watercolor_palette -= water_holder
renderer.render(watercolor_palette)
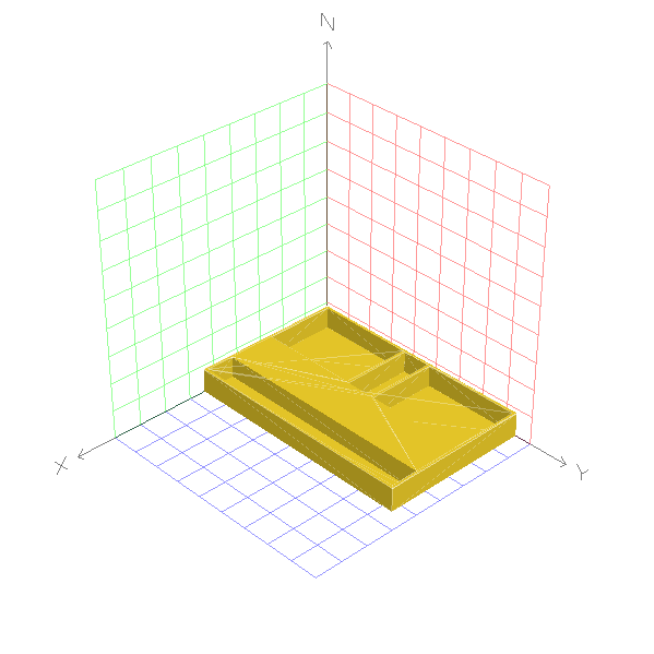
Brush holder
brush_holder = solid.cube((brush_holder_length, brush_holder_width, brush_holder_height))
brush_holder = solid.translate((gap + tube_holder_length + gap + sponge_holder_length + gap,
                                gap,
                                gap))(brush_holder)

watercolor_palette -= brush_holder
renderer.render(watercolor_palette)
Sponge holder
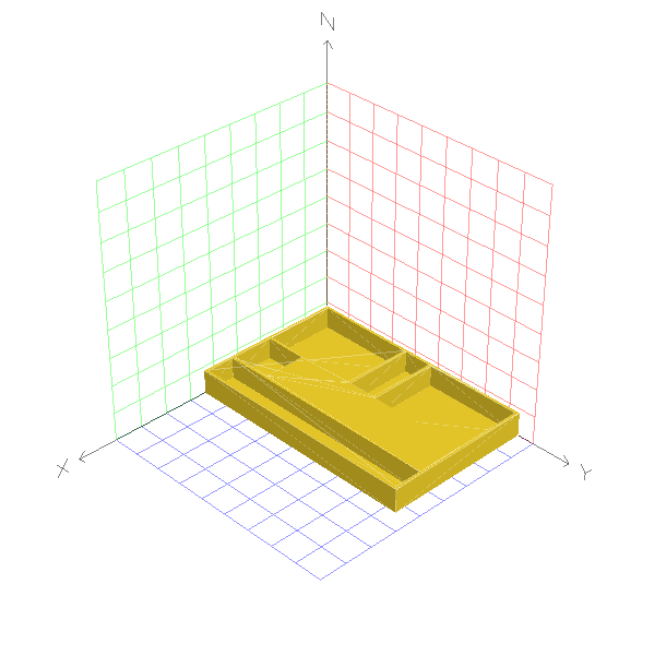
sponge_holder = solid.cube((sponge_holder_length, sponge_holder_width, sponge_holder_height))
sponge_holder = solid.translate((gap + tube_holder_length + gap,
                                 gap,
                                 gap))(sponge_holder)

watercolor_palette -= sponge_holder
renderer.render(watercolor_palette)
Mixing wells
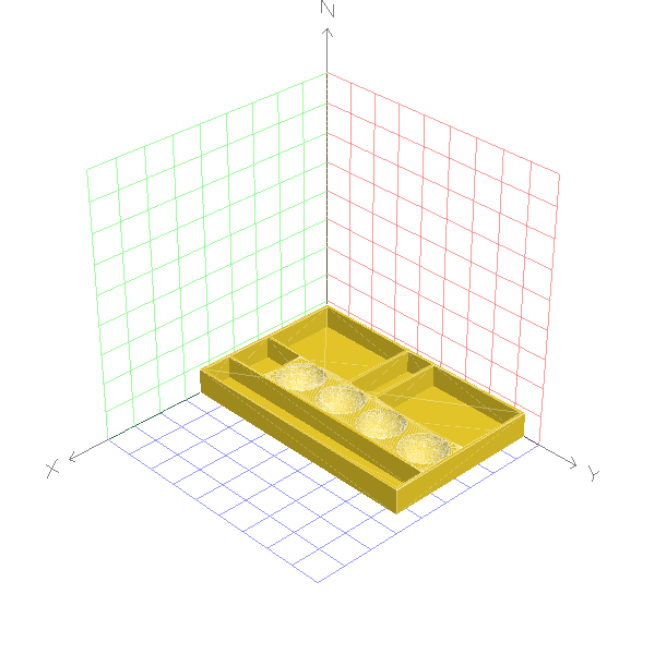
We used 75 segments as a guess, it worked out well enough in the end. Since it’s a sphere and not a cube, you now have to give the offsets with respect to the center of the sphere.
sphere = solid.sphere(r=mixing_well_radius, segments=75)
spheres = sum([solid.translate((gap + tube_holder_length + gap + mixing_well_radius,
                                y,
                                gap + mixing_well_radius))(sphere)
               for y in np.linspace(gap + sponge_holder_width + gap + mixing_well_radius,
                                    total_width - gap - mixing_well_radius,
                                    num_mixing_wells)])

watercolor_palette -= spheres
renderer.render(watercolor_palette)
Exporting
If you want to play around with this in the OpenSCAD GUI then SolidPython has a function for that. The output can be directly loaded into OpenSCAD.
print(solid.scad_render(watercolor_palette))
difference() {
	cube(size = [10.8000000000, 16.8000000000, 1.7000000000]);
	translate(v = [0.2000000000, 0.2000000000, 0.2000000000]) {
		cube(size = [5, 7, 1.5000000000]);
	}
	translate(v = [0.2000000000, 9.6000000000, 0.2000000000]) {
		cube(size = [5, 7, 1.5000000000]);
	}
	translate(v = [0.2000000000, 7.4000000000, 0.2000000000]) {
		cube(size = [5, 2, 1.5000000000]);
	}
	translate(v = [8.6000000000, 0.2000000000, 0.2000000000]) {
		cube(size = [2, 16.4000000000, 1.5000000000]);
	}
	translate(v = [5.4000000000, 0.2000000000, 0.2000000000]) {
		cube(size = [3, 3, 1.5000000000]);
	}
	union() {
		translate(v = [6.9000000000, 4.9, 1.7000000000]) {
			sphere($fn = 75, r = 1.5000000000);
		}
		translate(v = [6.9000000000, 8.3, 1.7000000000]) {
			sphere($fn = 75, r = 1.5000000000);
		}
		translate(v = [6.9000000000, 11.700000000000001, 1.7000000000]) {
			sphere($fn = 75, r = 1.5000000000);
		}
		translate(v = [6.9000000000, 15.100000000000001, 1.7000000000]) {
			sphere($fn = 75, r = 1.5000000000);
		}
	}
}
But we were happy with this as is, so we just wrote it out to an STL file which we loaded into Ultimaker Cura for slicing.
renderer.render(watercolor_palette, outfile="watercolor_palette.stl")
3D printing and results
We used the Creality Ender 3 profile, 0.28 mm resolution, 20% infill, no supports, and no adhesion. It took around 8 hours to print. Here’s the final print, in all its functional glory:

Next steps
We’ll try to add a lid to this so it can be carried around.